Aquesta és una proposta per a tots, no són els deures obligatoris!!
En aquests enllaços podreu trobar-hi propostes d'ampliació de les diferents àrees.
També podeu trobar deures d'ampliació en l'enllaç
https://sites.google.com/site/deuresdestiuselvai
Esperem que us ho passeu molt bé!!
Bon estiu!!
CATALÀ
https://docs.google.com/viewer?a=v&pid=sites&srcid=ZGVmYXVsdGRvbWFpbnxjYWxhaXhzZWx2YWkyMDE0MTVkZXVyZXNlc3RpdXxneDo1MTY2YzYxN2FhMjBiM2Ix
CASTELLÀ
https://docs.google.com/viewer?a=v&pid=sites&srcid=ZGVmYXVsdGRvbWFpbnxjYWxhaXhzZWx2YWkyMDE0MTVkZXVyZXNlc3RpdXxneDo2NmUwMWQwMjkxMDM4OTZh
ENGLISH
https://docs.google.com/viewer?a=v&pid=sites&srcid=ZGVmYXVsdGRvbWFpbnxjYWxhaXhzZWx2YWkyMDE0MTVkZXVyZXNlc3RpdXxneDo0MzQ5NTdjMzkwYjJhMTBl
MATEMÀTIQUES
https://docs.google.com/viewer?a=v&pid=sites&srcid=ZGVmYXVsdGRvbWFpbnxjYWxhaXhzZWx2YWkyMDE0MTVkZXVyZXNlc3RpdXxneDozNmU1OWVjZWEyZjg0MjQ2

dijous, 23 de juny del 2016

dimarts, 21 de juny del 2016
FOTOS EXCURSIÓ FI DE CURS 6È. Banyoles
Ei famílies,
us deixem amb les fotos de l'excursió a Banyoles que van fer els alumnes de 6è.
dissabte, 19 de març del 2016
practiqueu fraccions!!
Podeu entrar en aquests enllaços i practicar fraccions d'una forma distreta i entretinguda!!
http://www.genmagic.net/mates2/fraccio_cas.swf
REPÀS FRACCIONS
https://www.thatquiz.org/es/practicetest?NBFK5705
COMPARAR FRACCIONS
https://www.thatquiz.org/es/practicetest?GHKU6269
TROBA LA FRACCIÓ IRREDUCTIBLE
https://www.thatquiz.org/es/practicetest?LNGE4821
SUMAR FRACCIONS NIVELL MÍNIM
https://www.thatquiz.org/es/practicetest?ZYSU5265
SUMAR FRACCIONS NIVELL MIG
https://www.thatquiz.org/es/practicetest?QUXK2449
RESTA I SUMA DE FRACCIONS
https://www.thatquiz.org/es/practicetest?BNFN1526
REPÀS
dissabte, 12 de març del 2016
A VOLONTEER HOMEWORK: KALEIDOSCOPE PROJECT
Enjoy the beautiful colors and symmetrical patterns formed by a
kaleidoscope by making your own.
Understand how light bounces between the mirrors of your kaleidoscope and
have fun decorating it when finished.
This is a volonteer homework!!
Make Your Own Kaleidoscope
What you'll need:
- 3 pieces of mirrored perspex
- A roll of duct tape or masking
tape
- Overhead transparency paper
- Colored see-through plastic
- A pencil
Instructions:
1. Take 3 pieces of mirrored
perspex and tape them together to form a triangle shape. Make sure it is
solid and the tape is on the outside of the triangle.
2. Trace around the small
triangle at the end of the kaleidoscope onto the overhead transparency paper
(add another 1cm all the way around the triangle to allow for folding).
3. Place the transparency
paper onto the end of the kaleidoscope and cut slits at the corners so the
edges can be folded down.
4. Tape the transparency
paper into place.
5. Draw another triangle,
making this 2cm bigger than the last.
6. Decide what kind of
colored see-through plastic you would like to put inside your kaleidoscope. Cut
out small pieces that will sit on top of the transparency paper.
7. Put the colored plastic
over the end of the kaleidoscope that has the transparency paper, and on top of
that add the other (slightly bigger) triangle transparency paper. Tape
the second triangle down on top so that there is still just enough room for the
plastic to move between the two transparencies.
8. When your kaleidoscope
is finished feel free to design and decorate a cover using cardboard, felt
pens, glitter, tubing or anything else you want to use.
What's happening?
The patterns inside your kaleidoscope are made by light bouncing between
the mirrors on the inside. While you look through one end, light enters through
the other and reflects off the mirrors. Varying colors and patterns are formed
thanks to the symmetric pattern created by the well placed mirrors.
diumenge, 7 de febrer del 2016





divendres, 5 de febrer del 2016


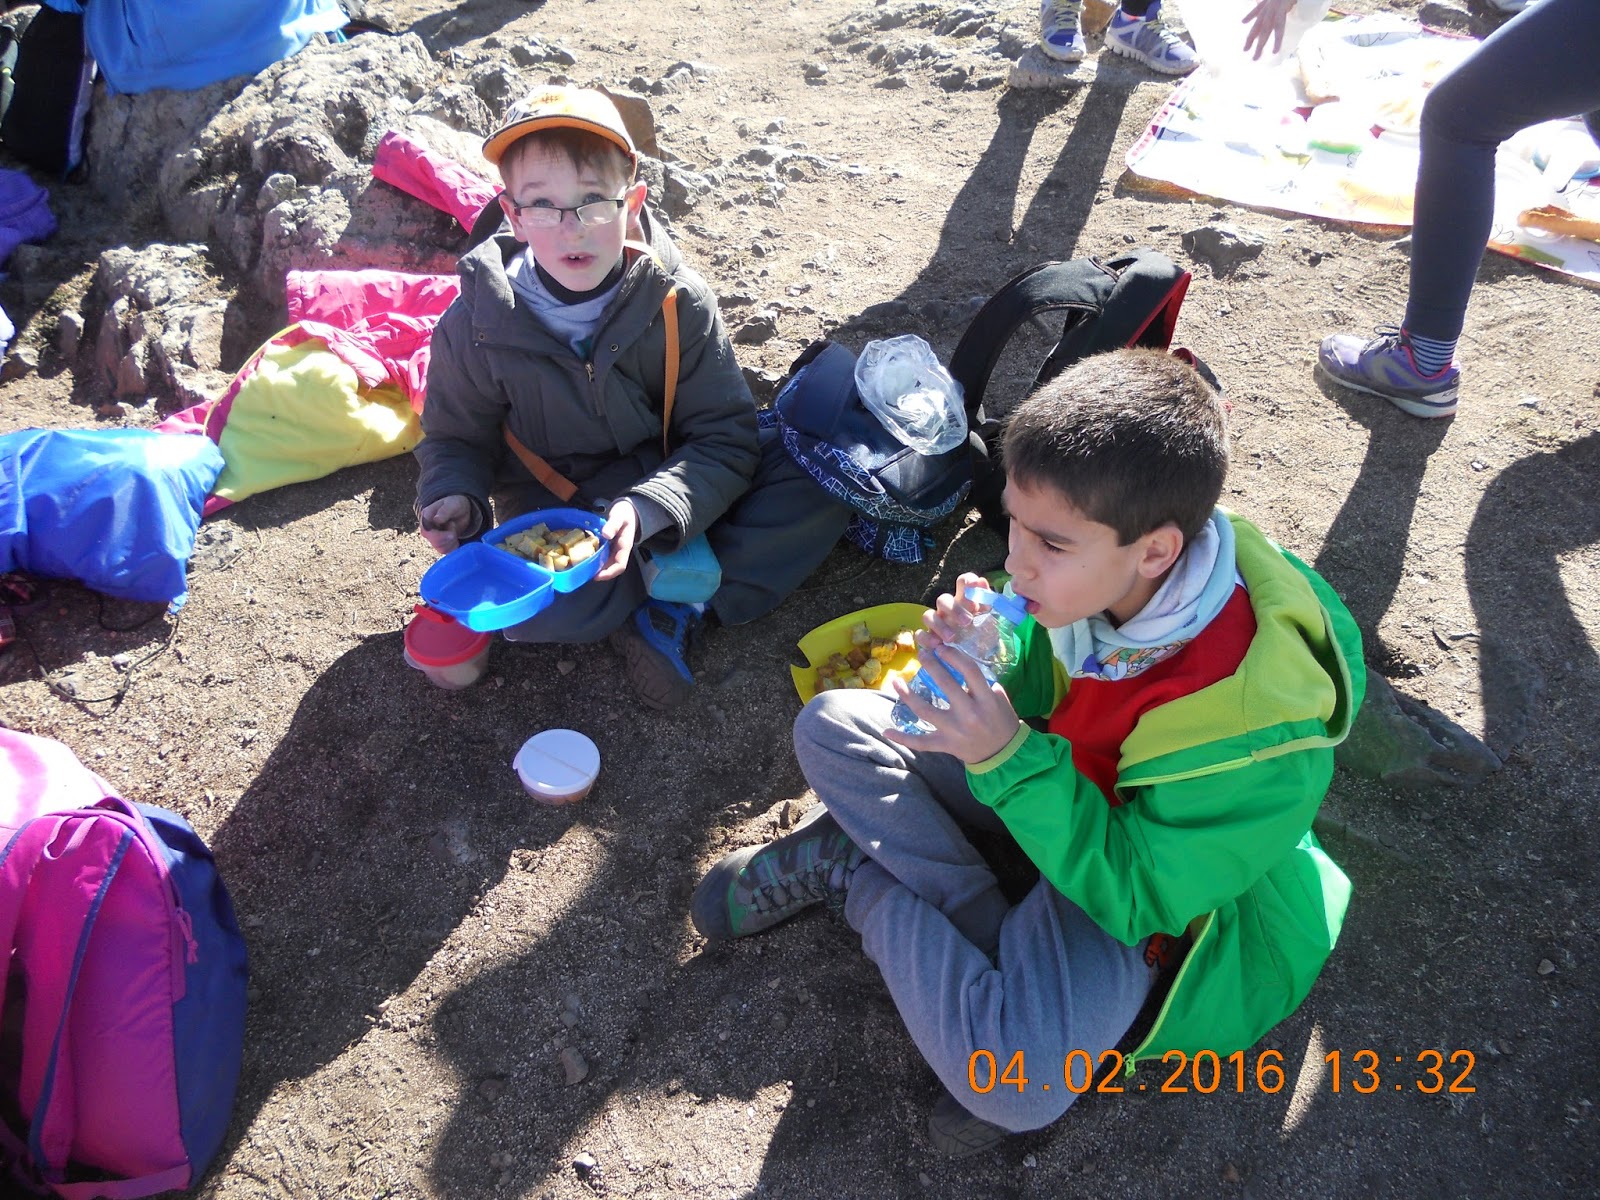
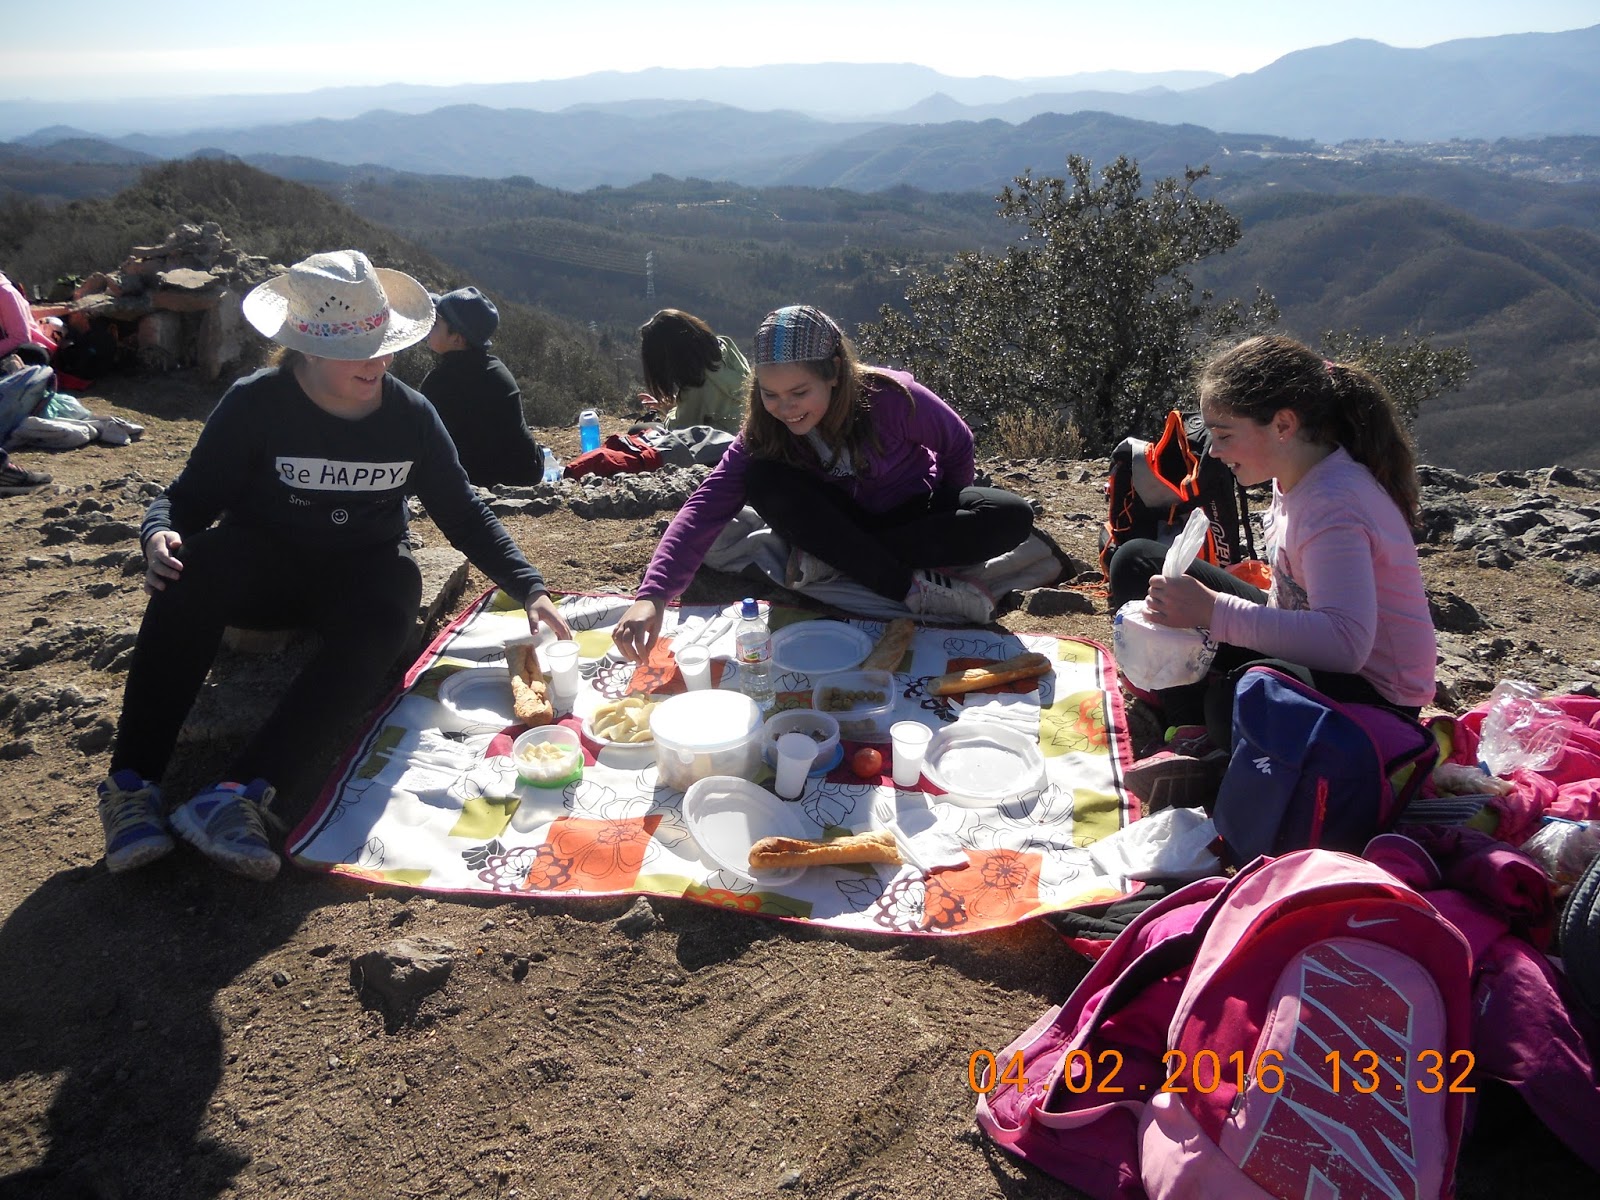


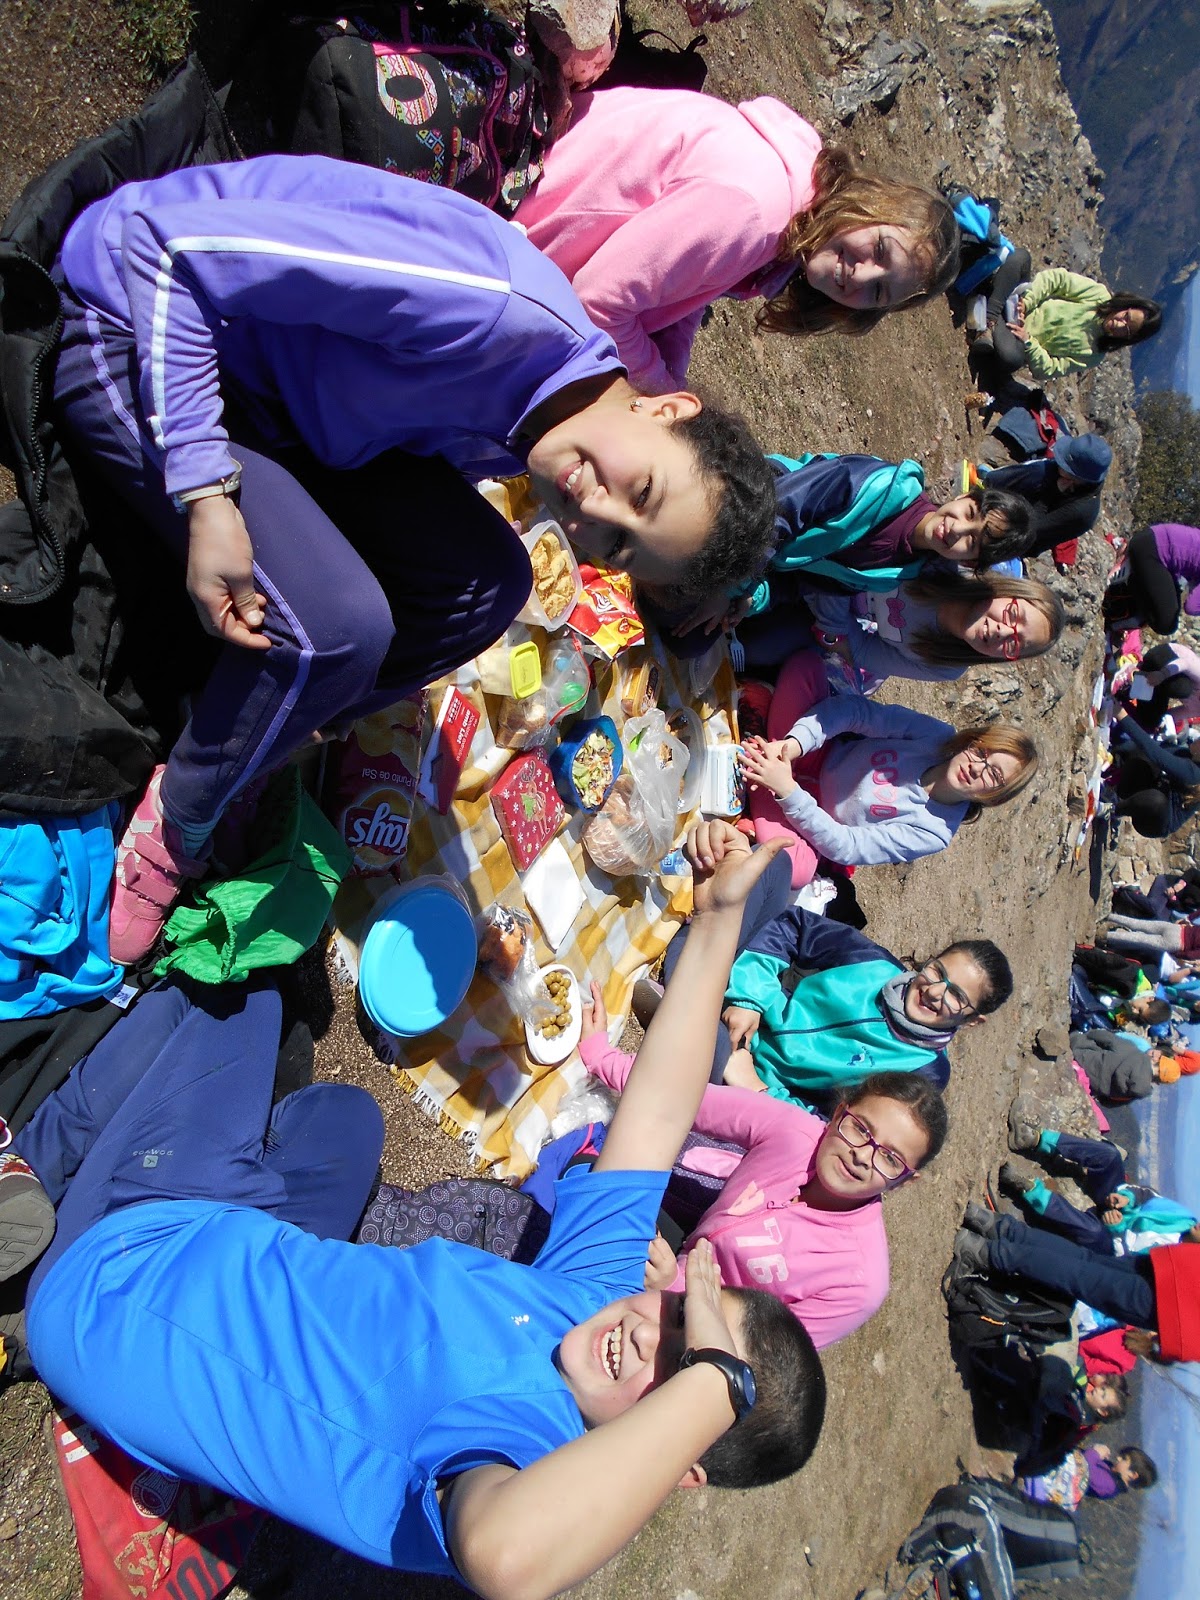
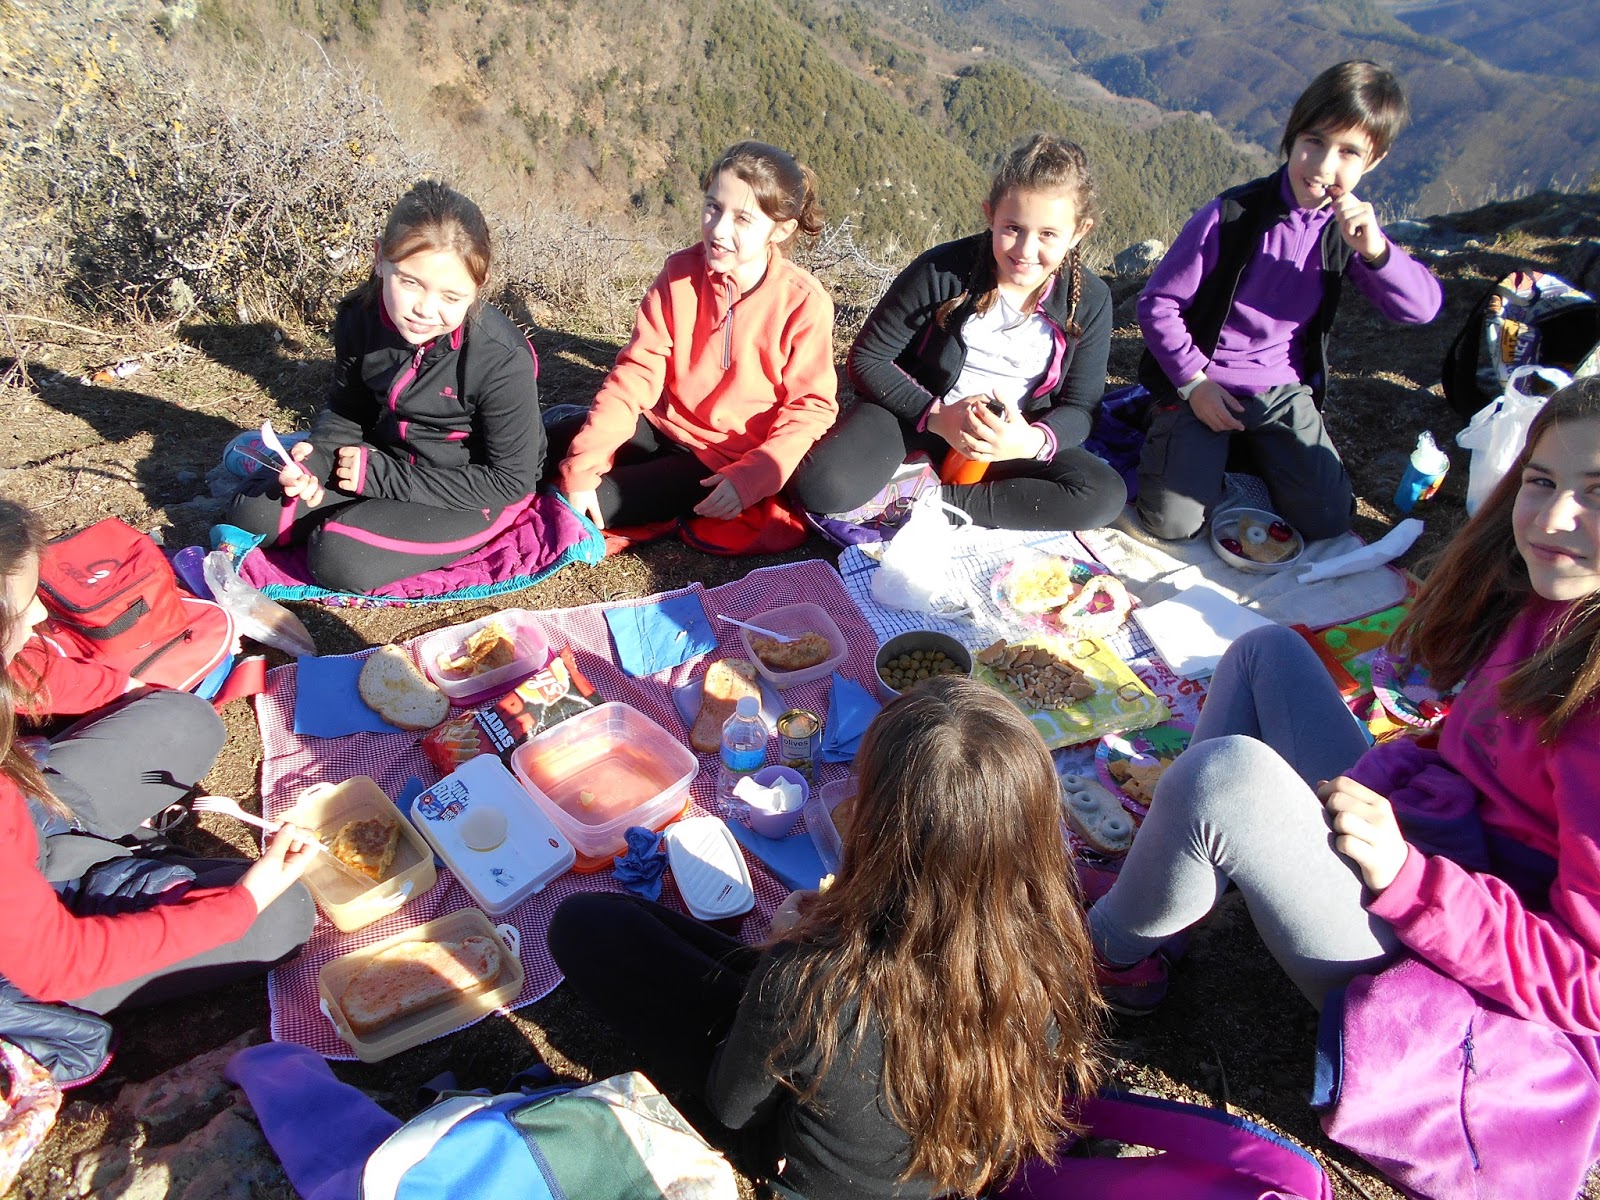
DIJOUS LLARDER A ST MIQUEL DE SOLTERRA
Si encara no heu pujat al cim més
alt de les Guilleries us animem a que ho feu. És una excursió sense cap
dificultat i des d’allà dalt podreu contemplar una panoràmica de 360º
Recorregut
|
Escala
1: 40.000
1cm.> 40.000 cm
1cm > 400 m.
20,5 cm > 8.200 m = 8 km 200m
|
Direcció
|
Cap al NE
|
Desnivell
|
Sant Hilari Sacalm 850 m
Sant Miquel de Solterra 1240m
390 m de desnivell
|
Temps
|
4000m>1hora
8200m>2hores i 20min
|
Iniciem l'excursió a la plaça del General
Moragas. Ens adrecem cap al carrer Sant Jordi i seguim cap a la pista que porta a
la Font del Sastre. Seguim per aquesta pista forestal que porta a El
Sobirà. Passem per la Fossa de la Minyona, les Clotes i can Calabrès. En aquest
punt ja podem veure, mirant a l'esquerra, el cim de Sant Miquel.
Decidim prendre una drecera que passa per Can Pla i ens porta un tros enllà de la Font dels Abeuradors, referent del camí de pujar a Sant Miquel.
Decidim prendre una drecera que passa per Can Pla i ens porta un tros enllà de la Font dels Abeuradors, referent del camí de pujar a Sant Miquel.
Passem el Coll de Llevanyes i arribem a la Font
Saguarda. Els diferents trencants que trobem els trobem molt ben indicats. Ara
prenem el corriol que s'enfila per la vessant obaga. El camí va pujant per una
fageda. A l'ultima part del camí ja podem veure el cim.
Dalt el
cim de Sant Miquel es pot contemplar una panoràmica de 360 º. En un dia clar
com el que vàrem tenir es pot veure: al Nord el Pirineu, el Puigsacalm i
els cingles del Far; al Sud el poble de Sant Hilari, més lluny el massís del
Montseny i el Matagalls; a l'Est el mar amb les Illes Medes i el Golf de Roses
i cap a l'Oest el Pedraforca i el massís de Montserrat.
Subscriure's a:
Missatges (Atom)